
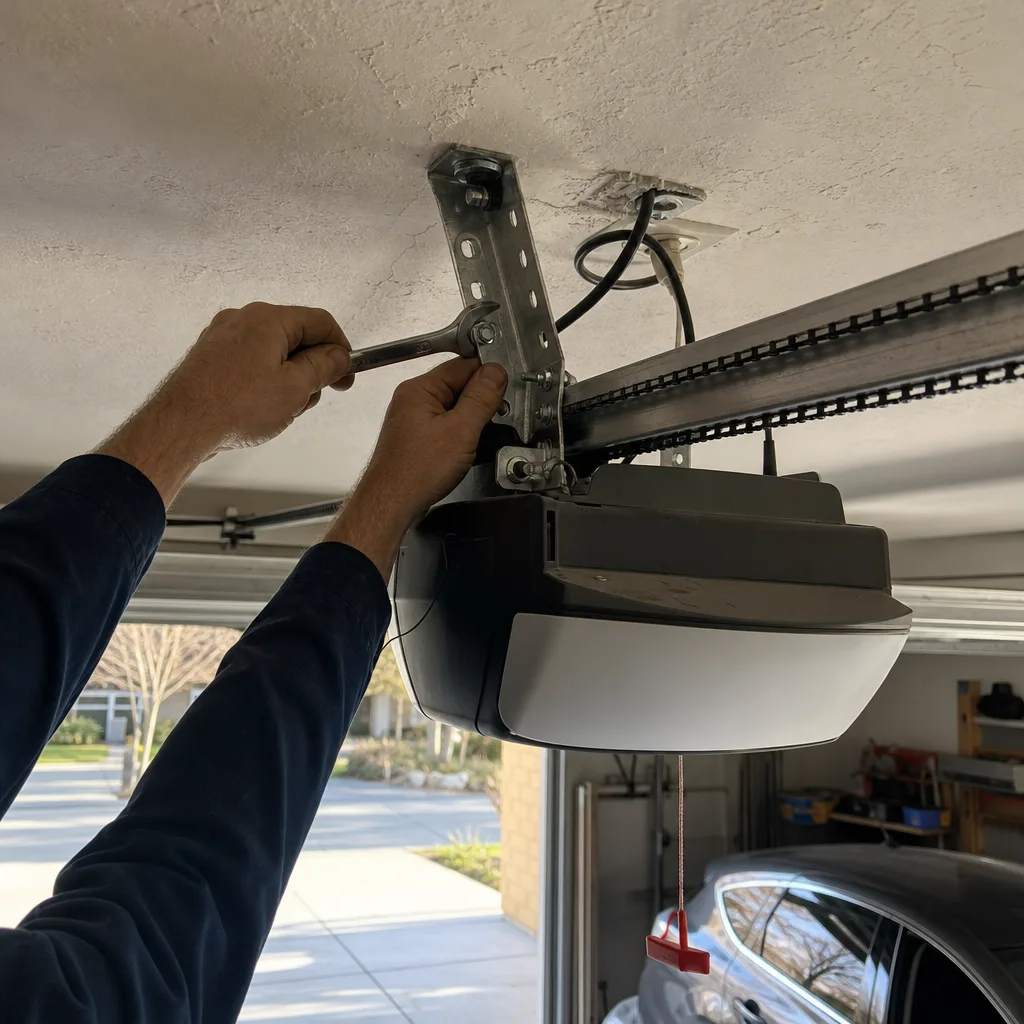
Last updated November 16, 2026
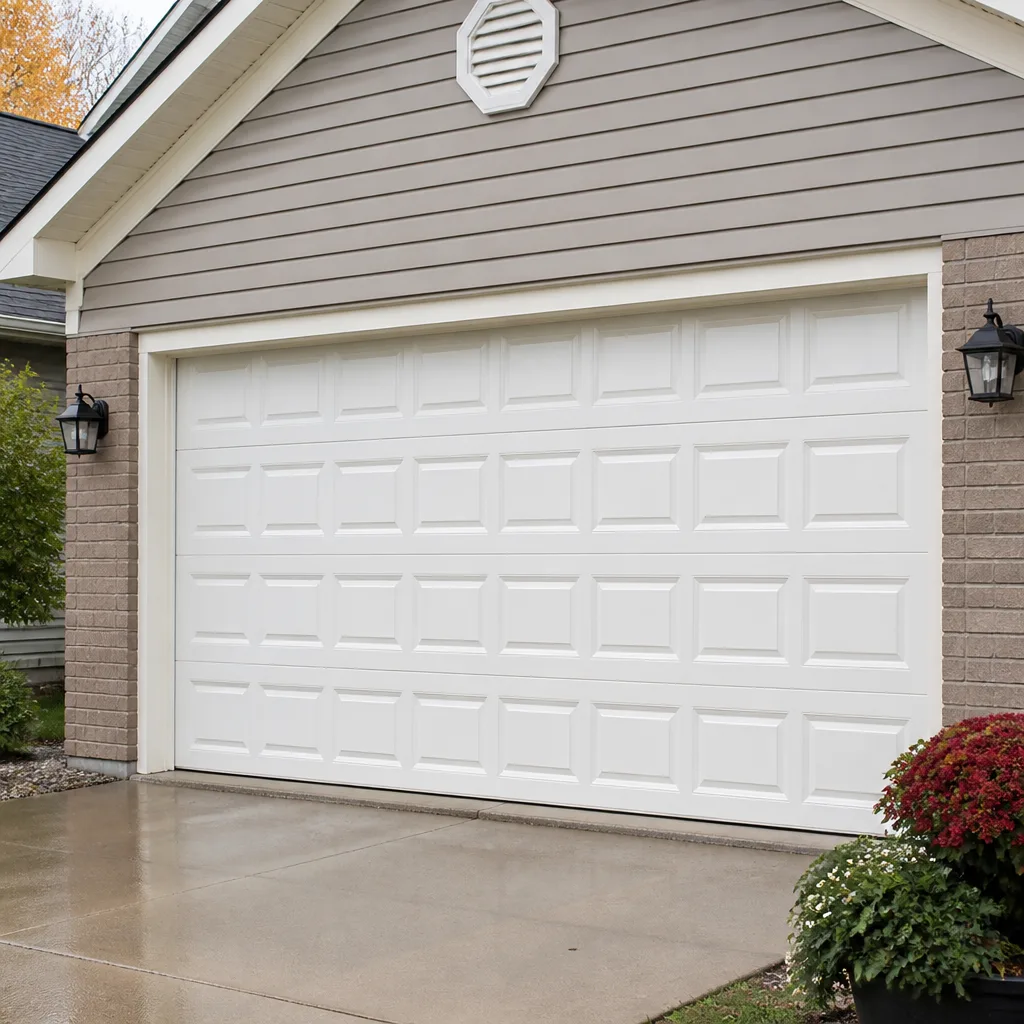 Raised-panel steel
 Carriage house
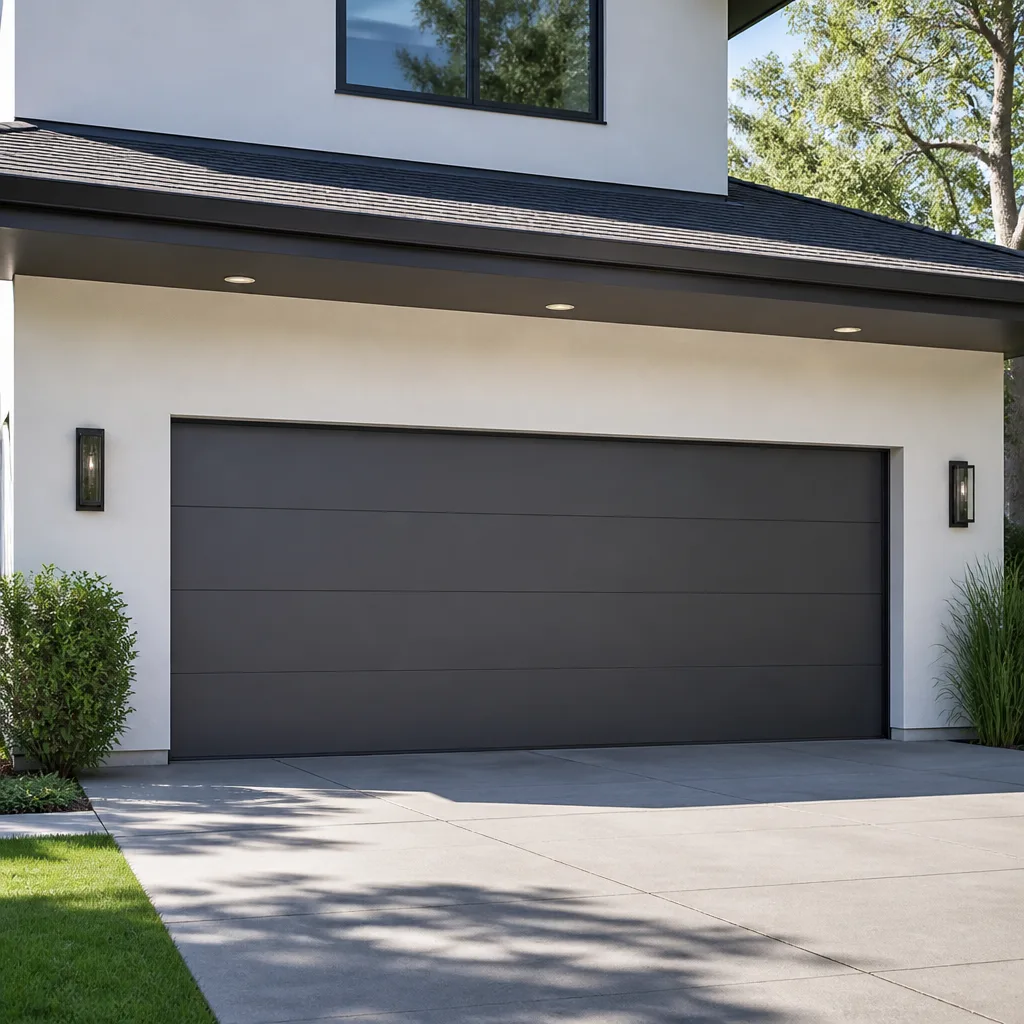 Modern flush
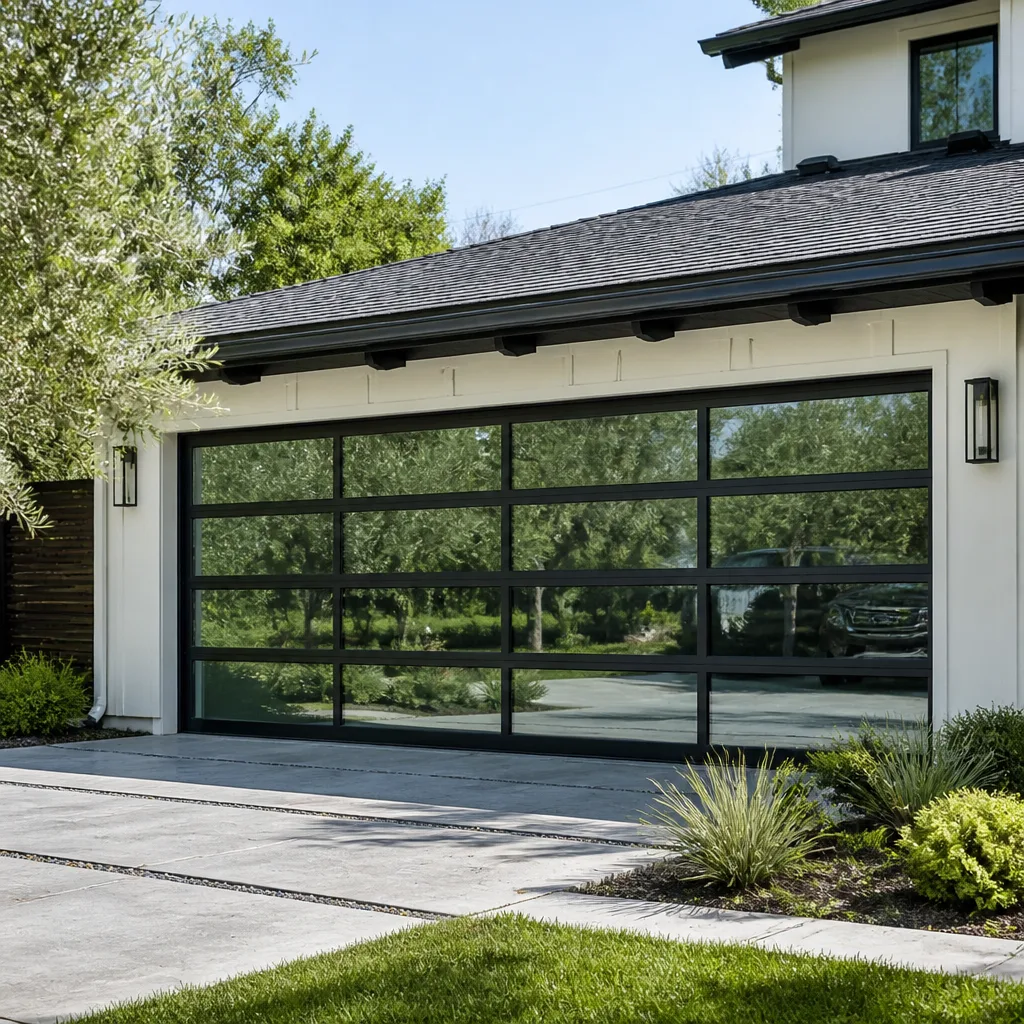 Full-view glass
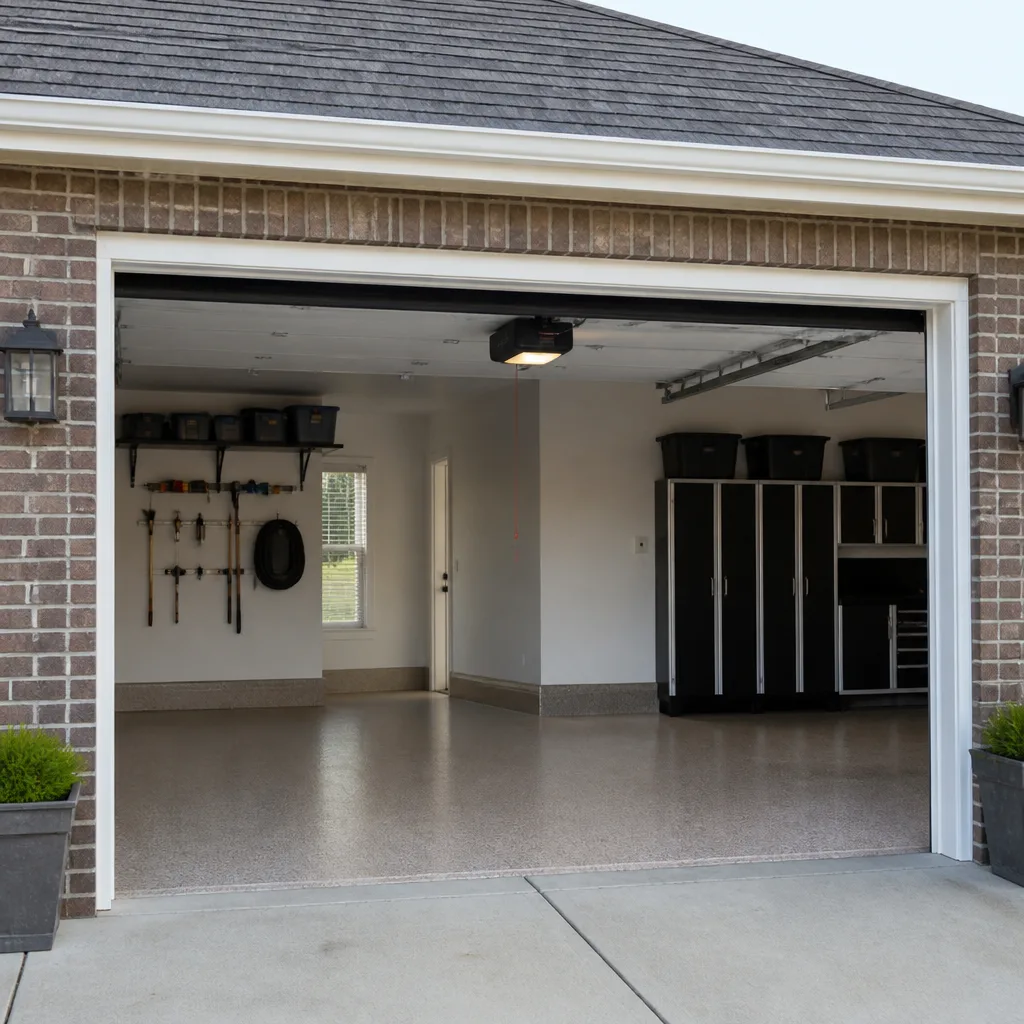 LiftMaster openers
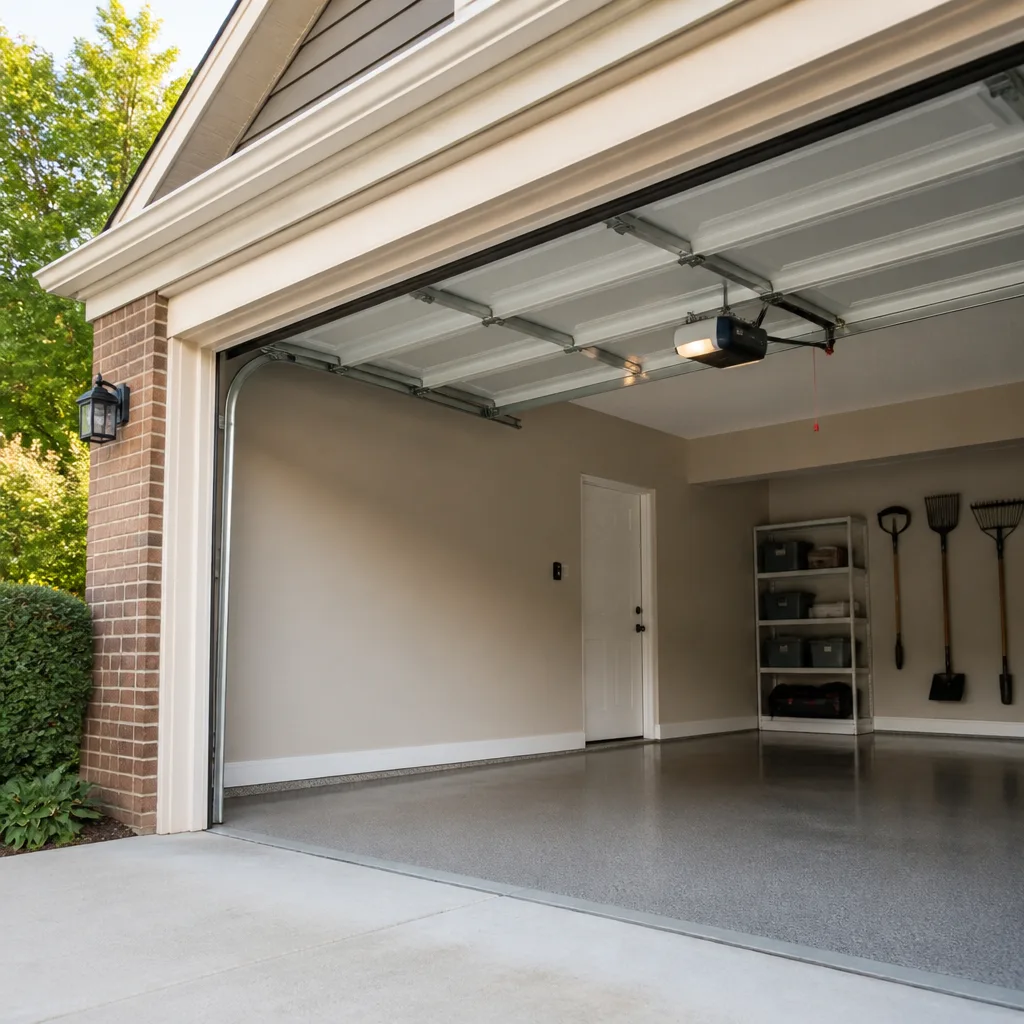 Chamberlain openers
Full 25-point door and opener safety check with every visit - springs, cables, rollers, tracks, and your LiftMaster or Chamberlain opener included
You get a price before we start. It does not change when the pro arrives.
Get your free estimateGarage Door Repair Maintenance Checklist for Provo Homeowners
The number-one cause of “sudden” garage door failures in Provo isn’t wear. It’s deferred maintenance on components that give six months of warning before they quit. A bottom seal that’s been quietly crumbling since fall, a torsion spring anchor plate that’s been slowly loosening, a limit switch that’s been drifting a quarter-inch every season – these things announce themselves long before the door stops moving. Most homeowners just aren’t looking in the right places, at the right times of year, for this climate. This guide gives you the Provo-specific calendar and the checks that catch trouble while it’s still cheap to fix.
Quick Answer
Provo homeowners should inspect their garage door every spring and fall, with a lightweight visual check midsummer during peak UV and dust. The critical tasks are cleaning and treating the bottom seal before hard freezes, checking the torsion spring anchor plate and roller bearings, testing the opener’s force and balance settings, and realigning safety sensors. A 15-minute inspection twice a year catches the failures Utah County’s freeze-thaw cycles and dry air cause most often, before they turn into emergency repairs.
Styles & brands we work with
- Raised-panel steel
- Carriage house
- Modern flush
- Full-view glass
- LiftMaster openers
- Chamberlain openers
Table of Contents
- Why Provo’s Climate Writes a Different Checklist
- The Provo Garage Door Maintenance Calendar
- The Five Components That Fail Silently in Utah’s Climate
- Lubrication: What Works and What Makes It Worse
- The Three-Minute Force and Balance Tests
- The Monthly Five-Minute Walkthrough
- What to Log After Every Inspection
- Documentation That Matters for Warranty Claims
Why Provo’s Climate Writes a Different Checklist
Most garage door maintenance guides you’ll find online are written for a mild, humid climate where the temperature swings twenty degrees across a season. Provo doesn’t work that way. Along the Wasatch Front, a single day in spring can start near freezing and hit the sixties by afternoon, and that swing happens dozens of times between October and April. Every one of those cycles expands and contracts metal, flexes rubber, and works fasteners a fraction looser.
Then summer arrives and the script flips. Provo summers are dry and the sun is intense at this elevation, which attacks anything rubber, vinyl or plastic on the door. Bottom seals dry out and crack. Weatherstripping on the sides of the opening pulls away. The dust that blows in from the west settles into any exposed grease and turns it into an abrasive paste that grinds down moving parts. None of this shows up in a guide written for a coastal or midwestern reader.
The practical upshot is that a Provo garage door needs attention on a schedule that follows this valley’s seasons, not the generic “check it once a year” advice most homeowners have absorbed. Two inspections tied to the freeze and the thaw, plus a midsummer look at anything exposed to UV, will catch the majority of what goes wrong here. In our experience, the doors that fail without warning are almost always the ones that skipped the October inspection entirely.
The Provo Garage Door Maintenance Calendar
Timing the work matters as much as doing it. Each of the three seasonal windows below targets a different failure mode, and doing the tasks in the wrong order wastes effort. Here’s how the year breaks down for a garage door in Provo.
October: Before the Hard Freezes
This is the most important inspection of the year. Utah Valley’s first hard freeze can arrive earlier than people expect, and anything with moisture trapped in it will split when that happens.
- Clean the bottom seal and check for cracks, hardening or separation from the door panel. A seal that’s already stiff will fail completely at the first freeze.
- Look at the torsion spring anchor plate at the center of the header. Check that the bolts are tight and the plate is flush against the wall framing. Freeze-thaw cycles work these loose over time.
- Test the balance of the door by hand (instructions below) while the weather is still mild. A door that’s out of balance in October is a spring on its way out.
- Drain and clear any standing water near the door’s base that could freeze and heave the concrete track.
- Confirm the opener’s force settings haven’t drifted. Cold weather thickens lubricants and makes the door harder to move, which stresses a marginal opener.
March: After the Thaw
Winter is the hardest season on a garage door in Provo. The March inspection is about finding what the freeze season damaged.
- Re-check the bottom seal for new splits or tears from ice.
- Inspect the track for bends or misalignment caused by frost heave in the slab.
- Look at the roller bearings (the small wheels inside the hinges) for flat spots or wobble.
- Test the safety sensors and clean the lenses of any winter grime.
- Re-run the force and balance tests. A door that passed in October and fails in March has a spring problem developing.
Midsummer: The UV and Dust Peak
July and August in Provo are tough on rubber and easy on nothing else. This check is quicker – fifteen minutes of looking at the parts the sun and dust attack.
- Run your hand along the bottom seal and side weatherstripping for hardening or cracking.
- Wipe down the rollers and hinges and re-apply lubricant only if the existing coating has dried out.
- Wipe any greasy residue off the track. Dust sticking to old grease is a grinding compound.
- Check that the opener’s limit switch still stops the door flush at the floor and at the fully open position.
The Five Components That Fail Silently in Utah’s Climate
These are the parts that give warning signs for months before they fail, and they’re the ones most homeowners never look at. In our experience across Provo, these five account for the majority of “it just stopped working” calls we get.
1. The Bottom Seal
The bottom seal is the rubber strip along the bottom edge of the door. In Utah’s dry air it hardens faster than in humid climates, and once it hardens it cracks at the first freeze. Warning states to look for: stiffness when you press it (it should give easily), visible cracks along the fold, gaps at the corners where it meets the track, or a seal that’s pulled away from the aluminum retainer. A failing seal lets in cold air, dust, and insects, and it lets out the conditioned air you’re paying for.
2. The Torsion Spring Anchor Plate
The torsion spring anchor plate is the steel bracket bolted to the wall above the door that holds the spring assembly. It doesn’t move, so it doesn’t get looked at, but the bolts holding it can loosen over years of freeze-thaw cycling. Warning states: a visible gap between the plate and the wall, rust streaks running down from the bolt heads, or a plate that flexes when you press it. Safety note: do not attempt to tighten or adjust anything connected to a torsion spring yourself. The springs are under extreme tension and can cause serious injury. Have a trained technician inspect the anchor plate.
3. Roller Bearings
The rollers are the small wheels that ride inside the track, and each one has a bearing that should spin freely. Provo’s dust gets into these bearings and grinds them down. Warning states: a wobble when you move the roller by hand, a flat spot on the wheel, a grinding sound as the door moves, or visible rust around the bearing. Worn rollers make the door harder to open, which makes the opener work harder, which shortens its life.
4. The Limit Switch
The limit switch is inside the opener and tells the motor where to stop. On LiftMaster and Chamberlain openers it’s usually a screw or slider on the side of the unit; on Genie units it’s often a pair of adjustment screws under the light cover. Warning states: the door stops an inch above the floor, or reverses before it fully opens, or the opener keeps running after the door has stopped. Any of these means the limit has drifted, and the door needs adjustment.
5. Safety Sensor Alignment
The two sensors at the bottom of the track (one on each side) project an invisible beam across the opening. If the beam is broken, the door won’t close. Dust, cobwebs, a bumped sensor, or a slight misalignment from frost heave can break it. Warning states: an LED on one sensor that’s off or flickering instead of solid, a door that closes partway and reverses, or a door that won’t close at all with the remote. Clean the lenses with a dry cloth first, then check that both sensors point at each other squarely.
Lubrication: What Works and What Makes It Worse
This is where well-meaning homeowners do the most damage. The wrong lubricant doesn’t just fail to help – it actively accelerates wear by trapping grit. A garage door in Provo sees dust year-round and sub-freezing temperatures for months, and the product you choose has to handle both.
What to Use
- White lithium grease for the torsion spring, hinges, and bearing plates. It stays put, doesn’t attract as much dust as oil, and holds up reasonably well in cold.
- Silicone spray for the bottom seal, the side weatherstripping, and the rollers. Silicone doesn’t degrade rubber the way petroleum products do, and it stays flexible in cold.
- Dry PTFE or graphite spray for the track itself, applied sparingly. These leave a dry film that dust doesn’t stick to.
What to Avoid
- WD-40 or general-purpose penetrating oil. These are solvents, not lubricants. They strip the factory grease off the rollers and hinges and leave the parts dry. They also attract dust and turn into a grinding paste within weeks.
- Motor oil or cooking oil. Motor oil runs off in the heat and thickens badly in the cold. Cooking oil goes rancid and attracts insects.
- Heavy grease on the track. The track should be nearly dry. Grease on the track collects every bit of Provo dust that blows through the garage and turns the track into sandpaper.
Whatever you use, apply it sparingly and wipe off the excess. A thin film is all that’s needed. If your door has been running on the wrong lubricant for years, have a technician clean the tracks and re-lubricate the moving parts properly.
The Three-Minute Force and Balance Tests
These two tests are the fastest way to catch an opener or spring problem before it becomes expensive. Both take under three minutes and require no tools. Do them twice a year, in October and March.
The Balance Test
This tells you whether the springs are still doing their job of counterbalancing the door’s weight.
- Close the door and disconnect the opener by pulling the red emergency release handle (usually a cord hanging from the opener rail).
- Lift the door by hand about halfway up and stop. Let go.
- The door should stay where you put it, or drift very slowly. If it slams down or drops quickly, the springs are worn and the opener is doing the lifting work.
- Push the door slowly to the fully open position and let go. If it won’t stay open, the springs are weak.
- Reconnect the opener by re-engaging the release (usually by lifting the door slightly and pushing the trolley back into the carriage).
The Force Test
This tells you whether the opener’s safety reverse is working. Every modern opener has a force setting that controls how hard the door pushes before reversing, and if that setting is off the door could fail to reverse on contact.
- With the door connected to the opener and open, lay a cardboard box or a piece of wood flat on the floor under the middle of the door.
- Press the close button and watch the door.
- The door should hit the obstacle and immediately reverse. If it keeps pushing, or grinds before reversing, the force setting or the opener itself needs attention.
- Repeat the test at the top and bottom of the travel if your opener has those safety features documented.
If either test fails, don’t adjust the settings yourself. The force settings are internal to the opener and easy to set wrong, and a door that fails to reverse is a genuine safety hazard. That’s when to call a technician for garage door opener repair.
The Monthly Five-Minute Walkthrough
Between the big seasonal inspections, a short monthly look keeps small problems from growing. This isn’t a full inspection – it’s a quick pass, done on the same day each month.
- Listen. Stand near the door and run it up and down. A smooth door makes a steady, low rumble. A squeak, a grind, a pop, or a rattle means something needs attention.
- Watch the door travel. It should rise and fall evenly, without jerking, wobbling or pausing. A door that shudders sideways has a track or roller problem.
- Check the safety sensor LEDs. Both should be on and solid. A flickering or off LED means the beam is broken.
- Look at the bottom seal. A five-second visual check catches new cracks before they get worse.
- Test the remote. If it takes a second press to work, the battery is going. Replace it before it fails.
If something you notice during the monthly walkthrough doesn’t fit any of these symptoms, write it down and mention it at the next full inspection. A slow change in door behavior is often the earliest signal of an issue, and the more precisely you can describe it, the faster a technician can diagnose it.
What to Log After Every Inspection
The most useful thing you can do for your garage door’s long-term health is to keep a simple record. A technician who has three years of notes can find a problem in twenty minutes that would otherwise take an afternoon of testing. And if your door or opener is still under a manufacturer’s warranty, the log is the evidence you’ll need.
Write down, for each inspection:
- The date and what you inspected.
- Any warning states you found and where exactly (which seal, which roller, left or right side).
- Anything you changed or repaired – new roller, new remote battery, re-lubricated the spring, re-aligned a sensor.
- The results of the force and balance tests, pass or fail.
- Any noise or motion changes you noticed during the monthly walkthroughs since the last inspection.
- The name and date of any service call, and what was done.
Photographs help too, especially for the bottom seal and the spring assembly. A date-stamped photo of a crack in October is much more convincing than a description of it in March. Keep it all in a notebook or a folder on your phone. It costs nothing and saves real time.
Documentation That Matters for Warranty Claims
Garage door warranties vary by manufacturer and by component, and the exact terms are set by each brand – so read the paperwork that came with your door and opener before assuming anything. What we can tell you is what documentation consistently matters.
For the door itself, keep the original purchase and installation documents. If you have a Clopay, Amarr, Wayne Dalton or Raynor door, the warranty covers the panels, hardware and finish separately, and each has its own terms. Keep a record of any repairs, especially anything involving the springs, hinges or rollers, and keep the receipts for any replacement parts.
For the opener, keep the model number and serial number written down. LiftMaster, Chamberlain, Genie and Craftsman all attach warranty terms to the specific model, and the serial number is what ties your unit to its paperwork. Keep a record of any service work and any parts replaced.
The log from the previous section is the single most useful document in a warranty conversation. If you’ve had the door inspected on schedule and the record shows it, that’s the evidence of proper maintenance that most warranties expect. Ask the manufacturer or your installing dealer for the exact terms that apply to your door and opener, and keep those documents with your log.
Common Mistakes to Avoid
- Using WD-40 as a lubricant. It’s a penetrating oil, not a lubricant. It strips the factory grease off rollers and hinges and leaves the parts dry. On a Provo door, it also attracts dust that turns into a grinding paste within a few weeks.
- Ignoring the bottom seal because it “still looks okay.” By the time visible cracks show, the seal is already failing. In Utah’s climate the seal hardens first and cracks second, so the feel test – pressing it to check it’s still soft – matters more than a visual check.
- Skipping the October inspection. Everything on the door is at its most vulnerable going into a freeze. A seal that’s marginal in September will split by November, and a spring that’s out of balance will be twice as bad by December.
- Adjusting the opener’s force or limit settings without a plan. The force setting is a safety feature. Setting it too high makes the door push through obstacles instead of reversing. If you don’t know exactly what you’re doing, leave it to a technician.
- Over-greasing the track. The track should be nearly dry. Every bit of grease on it collects Provo dust, and the result is a track that grinds the rollers down faster than a dry track would.
- Testing the door in cold weather with the opener connected. If the balance test is done with the opener engaged, you’re testing the opener, not the springs. Disconnect it first.
- Not writing anything down. Without a log, every inspection starts from zero. A technician spends the first twenty minutes of a service call just figuring out what the door has been doing.
See the difference
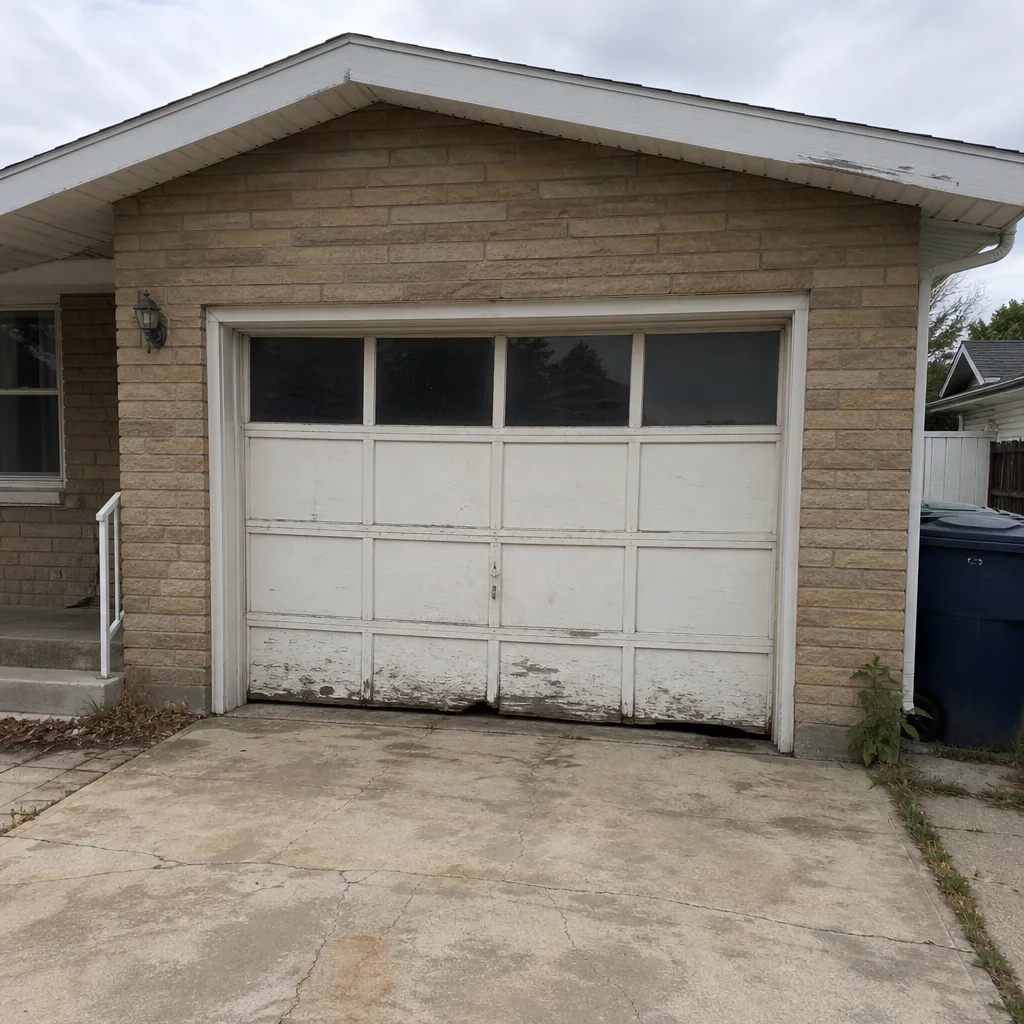 Before
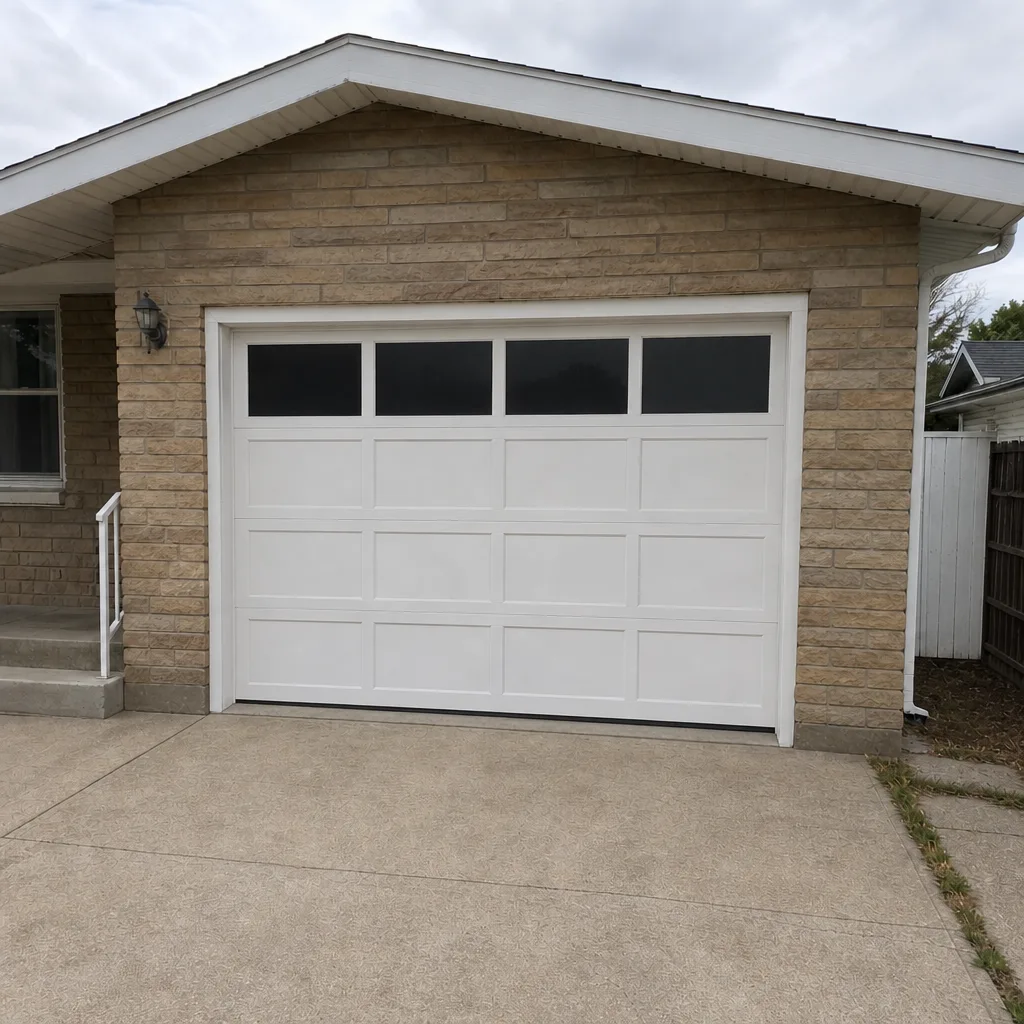 After
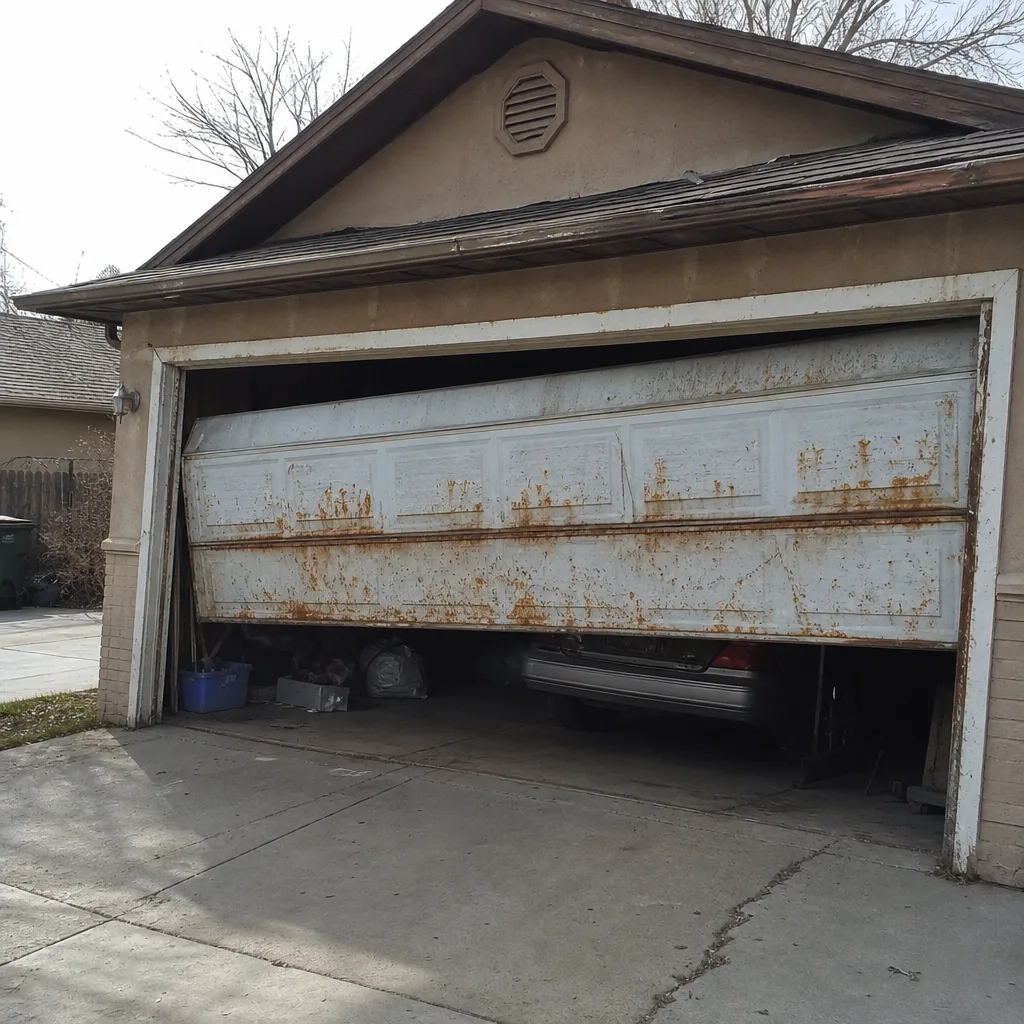 Before
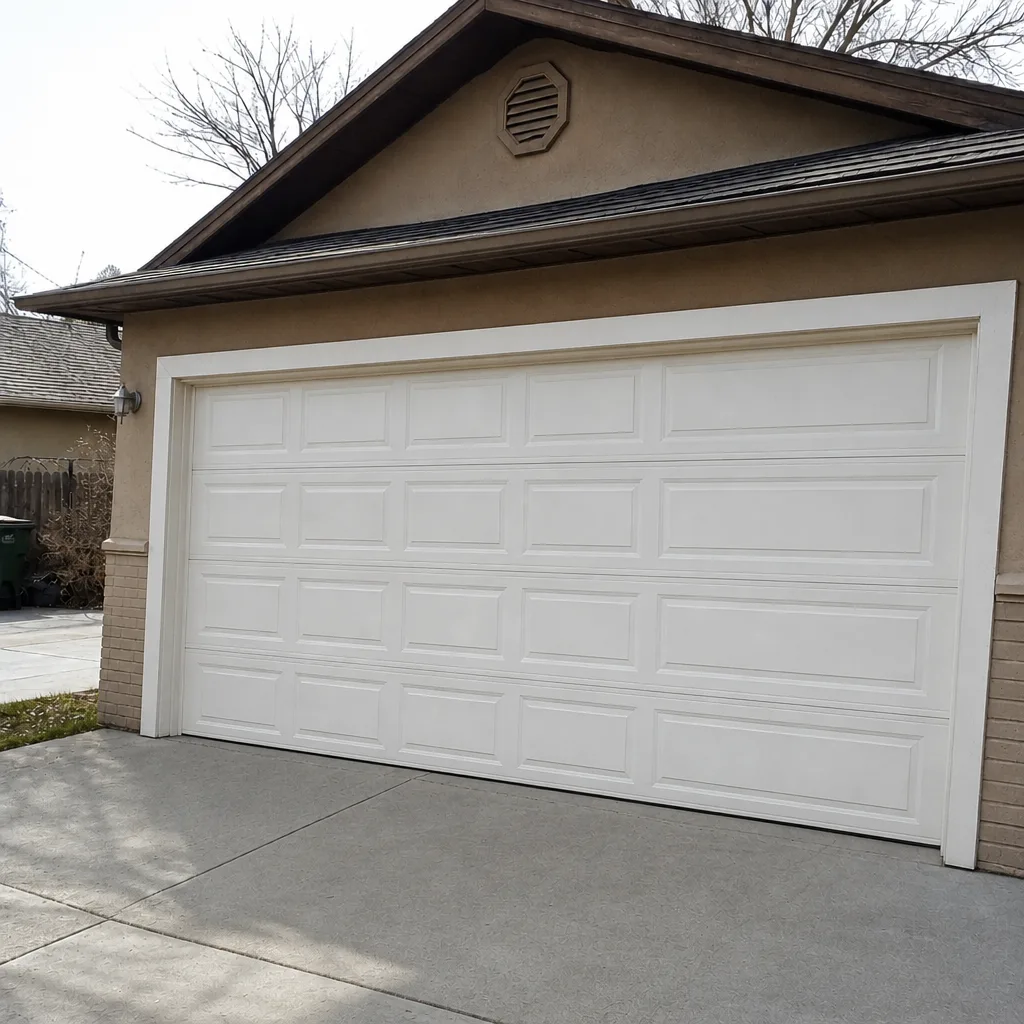 After
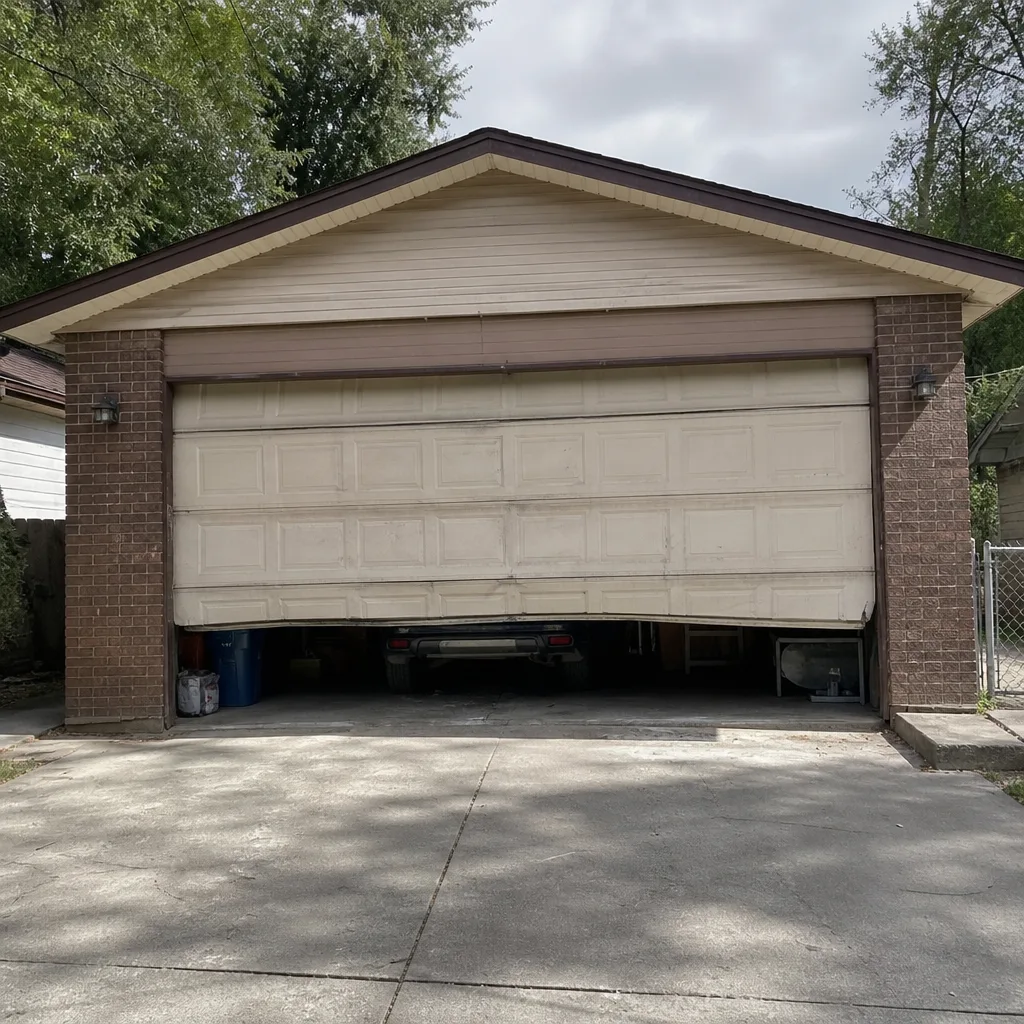 Before
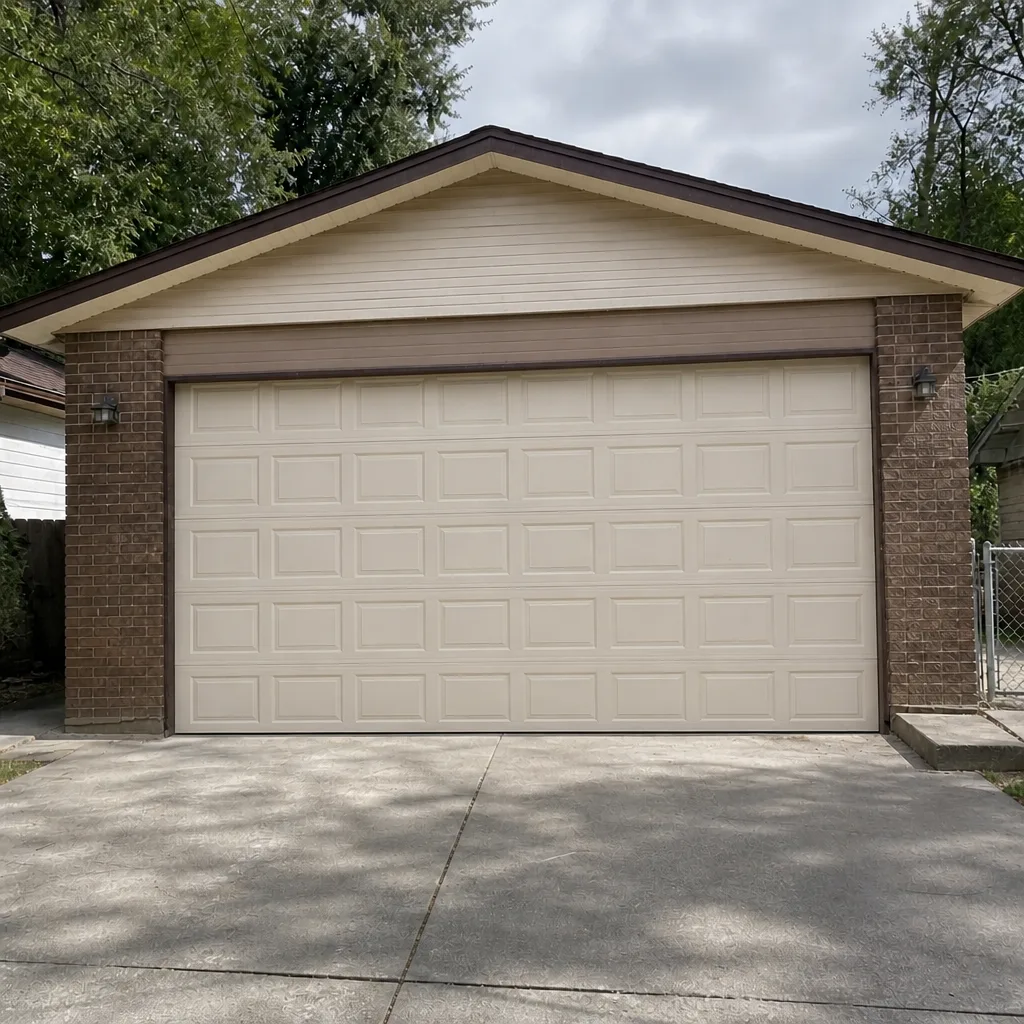 After
When to Call a Professional
Most of the maintenance on this page you can do yourself. But some problems are not safe to tackle at home, and others are the start of a repair that will cost more to fix later. Call a professional if the balance test shows the door drops or won’t stay open, if the force test shows the door doesn’t reverse on contact, if the torsion spring anchor plate looks loose or the spring itself shows any sign of wear, if the door has come off the track, if the opener runs but the door doesn’t move, or if you hear a loud bang from the spring assembly. Those last two are usually a broken spring, and they need a trained technician. Provo Garage Door Service offers free estimates in Provo – call (877) 526-0732. We answer 24/7. Fast dispatch from 7am to 7pm, Sunday through Friday.
We handle garage door repair, opener diagnostics and repair, and complete new installation, and we service eight major brands including Raynor, LiftMaster, Chamberlain and Genie. That covers the door, the hardware, and the opener in one call.
Frequently Asked Questions
Twice a year at minimum, with one inspection in October before hard freezes and one in March after the thaw. Provo’s freeze-thaw cycles are tough on seals and springs, so twice a year catches most problems while they’re still cheap to fix. Add a quick fifteen-minute midsummer check for UV and dust damage on the bottom seal and rollers. Call (877) 526-0732 for an exact quote if you’d rather have a professional inspection – estimates are free.
The bottom seal is the most common, followed by worn rollers and a drifting limit switch on the opener. Utah County’s dry air hardens rubber faster than in more humid climates, so seals crack before they wear out. In our experience, the doors that come in for repairs with a “sudden” failure usually show a seal or spring issue that’s been visible for months. Call (877) 526-0732 if you’re not sure what you’re looking at – estimates are free.
Yes, for the parts that don’t involve the torsion spring. Use white lithium grease on the hinges and bearing plates, silicone spray on the bottom seal and weatherstripping, and a dry PTFE or graphite spray on the track. Avoid WD-40 and general-purpose oil – they strip factory grease and attract dust. Leave anything connected to the torsion spring to a trained technician; the springs are under extreme tension and can cause serious injury. Call (877) 526-0732 for a service quote.
Usually a safety sensor problem, a limit switch issue, or a remote that’s stuck or has a dying battery. The first thing to check is whether the sensor LEDs are both solid; a flicker or blank means the beam is broken and the opener may be cycling in response. If the sensors look fine, it’s an opener issue and worth a diagnostic visit. Call (877) 526-0732 – estimates are free.
A broken spring usually announces itself with a loud bang, then the door becomes very heavy to lift or won’t stay open at all. If you don’t hear the bang but the door fails the balance test, the spring is worn and on its way out. Do not try to replace a torsion spring yourself – it’s the most dangerous part of the system. Call (877) 526-0732 for a repair estimate.
Yes, and it costs you nothing. A written log tells a technician exactly what the door has been doing and when, which speeds up diagnosis. It’s also the record most warranties look for as proof of proper maintenance. Keep the log somewhere you’ll actually find it, and add photos of the bottom seal and spring assembly at every inspection. Call (877) 526-0732 if you want a professional to start the log for you – estimates are free.
The Bottom Line
Garage door maintenance in Provo is not the same as it is in a mild climate. The freeze-thaw cycles from October through April and the UV and dust of summer write a schedule that national guides don’t have. Inspect in October before the hard freezes, again in March after the thaw, and add a short midsummer check on anything rubber or exposed. Watch the five components that fail silently – bottom seal, torsion spring anchor plate, roller bearings, limit switch, and safety sensors – and run the balance and force tests twice a year. Log what you find, and leave the springs to a trained technician. A few minutes twice a year is the difference between a door that lasts and one that fails without warning.
If you’d rather have an experienced technician do the inspection, Provo Garage Door Service handles repair, opener diagnostics, and installation on eight major brands, including Raynor and LiftMaster. We answer 24/7. Fast dispatch from 7am to 7pm, Sunday through Friday. Call (877) 526-0732 for a free estimate.
Written by the team at Provo Garage Door Service.